Identify the damage before choosing what to do
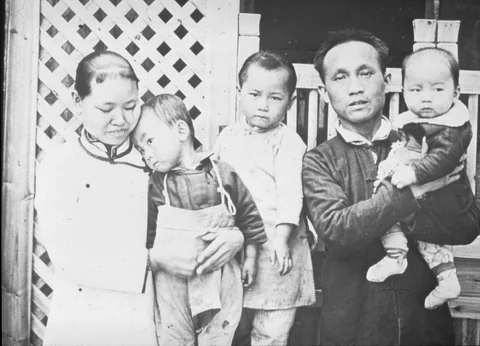
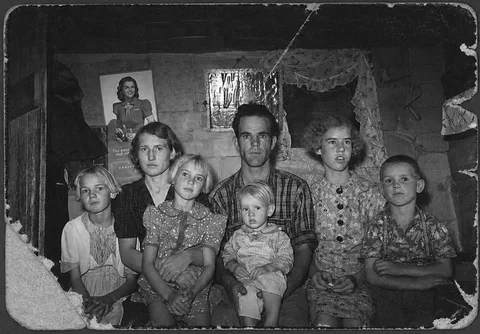
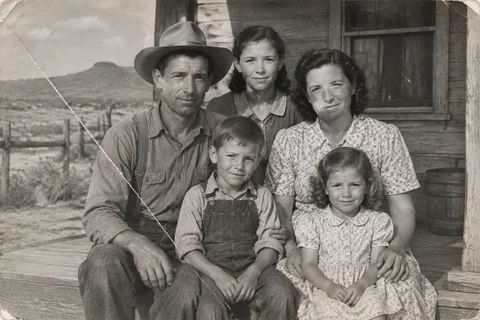
Fading, color shifts, and low contrast usually affect the whole image. Dust, scratches, and stains may cover only small areas. A crease interrupts the image; a tear, flake, or missing corner means some visual information is gone. The closer the damage is to a distinctive feature—eyes, fingers, a uniform badge, or sign lettering—the more carefully you should assess any repair.
Photograph the print as it is and make a clear digital copy first. If it is sticky, moldy, brittle, stuck to another surface, or flaking, do not try to wash, iron, flatten, trim, or glue it yourself. Do not force it under a scanner lid. For severe damage or an irreplaceable family photograph, consult a photo conservator first.
What digital repair can—and cannot—do
Traditional editing can adjust brightness and contrast, reduce scan noise, or retouch a small scratch. Generative AI may go further by inferring hidden texture or filling a large missing area. It creates pixels that look plausible; it does not recover original information that no longer exists.
A small surface scratch is not the same repair problem as a face torn away from the print. Nearby texture may give a tool useful clues for the scratch. A natural-looking, complete face in a missing area is still only a model-generated possibility. The more convincing the output looks, the more important it is to keep the untouched scan and not mistake an inference for a record of what was there.
Choose how much restoration to apply
Work from lighter to stronger edits, keeping a separate copy for each version:
- Start with basic corrections. Fix orientation, crop the border, and adjust overall brightness so existing content is easier to see.
- Address minor defects next. If the main issues are fading, light noise, or a few scratches, prefer an approach that preserves the original structure.
- Try generative reconstruction only when substantial areas are missing. First decide whether you accept that a fill is an interpretation, not evidence.
- Review both the whole image and details. Compare the result with the original scan, especially faces, hands, clothing edges, background lettering, and joins around the damaged area.
In PhotoMend, Faithful Restore focuses on preserving what is already visible; Full Restore can make more generative fills in missing areas. A stronger mode does not make a result more authentic or guarantee a better outcome for every photograph. If the image is mostly intact, begin conservatively. If damage is extensive, you can try a stronger fill and save it as a separate version.
Clearer does not always mean more accurate
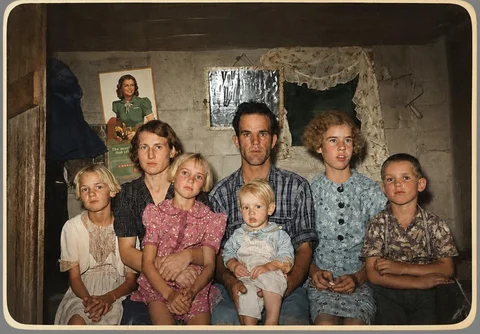
Do not judge only by overall sharpness, skin tone, or a “like new” appearance. Zoom in to see whether familiar features and the hairline changed. Check glasses, collars, fingers, badges, and background lettering for details that appeared from nowhere. Compare clothing texture across a crease. A model might turn a scratch into a new fold or redraw features that were blurred by wear.
For a family keepsake, you may keep a version that is easier to view, as long as it is clearly marked as AI-assisted. For genealogy, journalism, publishing, or another evidence-based use, retain the original scan and disclose reconstructed areas. Do not base historical conclusions only on text, features, or objects filled in by AI.
Keep three versions of each photograph’s history
- Print record: Leave the physical photograph unchanged and record its condition and provenance.
- Original digital copy: Keep the scan or capture as made, without enhancement or replacement.
- Edited version: Label repairs, colorization, cropping, and other changes; keep multiple versions for comparison when useful.
This does not prevent you from making an attractive keepsake. It helps family members understand which details come from the photograph and which came from later editing. Good restoration does not erase every trace; it improves viewing while respecting the original record.