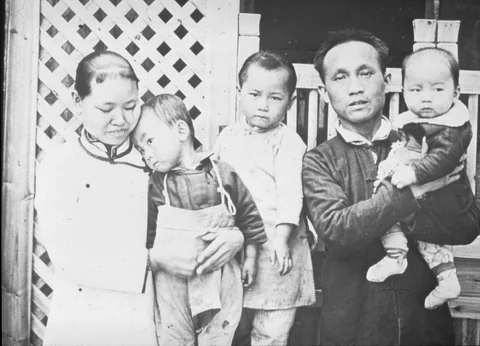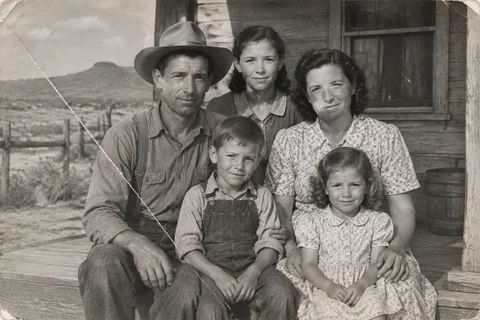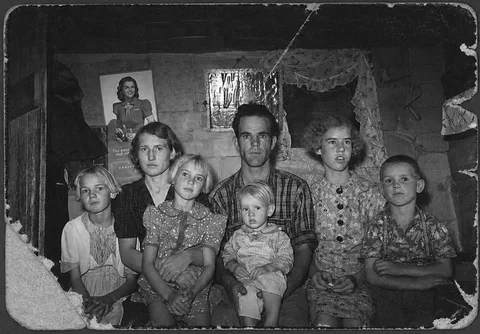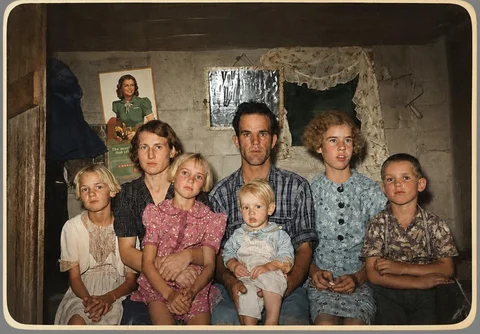
Start with a fair comparison
Keep the unedited scan beside the restored version. Compare them with the same crop, display size, and steady screen brightness. Look at the whole photograph first, then zoom in on faces, hands, clothing, lettering, and damaged areas. A thumbnail can hide shifted edges, redrawn details, and broken textures.
If you generate several versions, record the mode and settings used for each one. Do not treat the most attractive result as the only truth. Generative models can vary from one run to another; a result that looks convincing does not mean the model knows what was hidden or missing.
Five areas to inspect
1. Identity and expression
Compare the distance between the eyes, bridge of the nose, corners of the mouth, jawline, hairline, and shape of glasses. Does the face still look like the same person? Has a serious expression become a smile? Have a mole, wrinkles, age cues, or another familiar feature disappeared? For a family keepsake, a slightly softer face that preserves identity may be more valuable than a sharp but unfamiliar one.
2. Hands, edges, and object structure
Check the number of fingers, how wrists connect, the shape of ears and glasses arms, and whether people have merged together. Make sure collars, cuffs, hat brims, and shoulder lines still connect plausibly. If a detail now suggests a different garment or pose, do not overlook it just because the full image looks clearer.
3. Text and distinctive marks
Signs, uniform badges, notes on the back of a photo, and building markings are especially likely to become plausible-looking imitations. Zoom in on strokes and spacing. If the lettering cannot be read in the original or has been redrawn, do not treat it as reliable text. Verify names, places, or dates using the original, family records, or other evidence—not an AI-generated substitute.
4. Texture and tonal range
Look for skin, hair, fabric, and backgrounds turning into the same smooth texture. Strong denoising can erase paper grain, wrinkles, and weave; sharpening can create halos along edges. Check for locally over-bright faces, unnaturally blurred backgrounds, or blocky changes where light and shadow should be continuous.
5. Damage boundaries and reconstructed areas
Follow scratches, folds, tears, and missing corners slowly. Do repaired areas join naturally with what remains? Look for repeated patterns, abrupt color patches, interrupted clothing lines, or visible seams in the background. When a large area is missing, even a plausible result is an interpretation. Mark it clearly as reconstructed.
Set an acceptable standard for the intended use
- Family viewing: Prioritize whether people remain recognizable and whether the colors and repairs feel natural to the family. Keep the original scan so it can be revisited later.
- Printing or framing: In addition to identity, inspect sharpness, tone, edges, and cropping at the intended print size. Repair artifacts can become more obvious in a large print.
- Genealogy, publishing, or historical records: Preserve the original scan and describe the edits. Never present generated faces, lettering, or filled-in damage as factual evidence.
No restoration mode suits every purpose. PhotoMend's Faithful Restore focuses on preserving what is already present; Full Restore can make more generative fills in clearly missing areas. Faithful does not mean details can never change, and Full does not make additions authentic. Check either result against the photograph itself.
Keep a record of the changes
Keep the original scan and the edited version of every important photo, with clear names such as 1968-family-original.tif and 1968-family-ai-restored-v1.jpg. Note the restoration method, date, and any known reconstructed or colorized areas. If new evidence turns up, that record lets you start again without guessing which file was the original.
The best result is not necessarily the sharpest, brightest, or most flawless one. It is the version that fits your purpose without hiding uncertainty. Comparing side by side, checking specific details, and keeping the original are more reliable than chasing a one-click makeover.