How to restore old photos in four careful steps.
Learn how to scan, repair, colorize, and review old family photos while protecting faces and historical detail.
1. Photograph or scan in even light
Lay a print flat, avoid glare, and keep the camera parallel to the paper. A clear phone photo is a perfectly good starting point. JPG, PNG, WebP, and HEIC files up to 20 MB are supported.
- Use indirect window light and turn off the flash. Keep the phone directly above the print; move the light if you see a reflection. Never flatten a fragile print by force.
- If you have a scanner, start at 300–600 DPI and save an untouched copy. Do not wet or chemically clean the photograph.
- Upload one photo at a time, with at least 256 pixels on each side. Large phone photos are automatically resized before upload, keeping the full photo. iPhone HEIC photos are converted in your browser.
A clearer input starts with the light
2. Choose the right amount of help
Choose Faithful Restore for gentle repairs with minimal changes. Choose Full Restore for more complete damage repair, clearer detail, and balanced color and lighting.
- Faithful keeps more of the original texture. Full aims for a cleaner, clearer finish and may reconstruct missing detail. Compare faces and fine details with the original.
- Color output is on by default. Turn it off for black and white, including color originals; generated colors cannot establish their historical accuracy.
Faithful
Best for light damage
Change as little as possible
Full
Best for visible damage
Restore detail for a clearer, cleaner photo
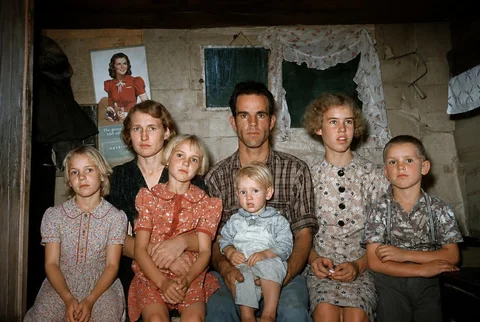
One photo, two restoration modes
Both runs use the same damaged input, natural color on and no added facts. Only the restoration mode changes. Generation can vary between runs.
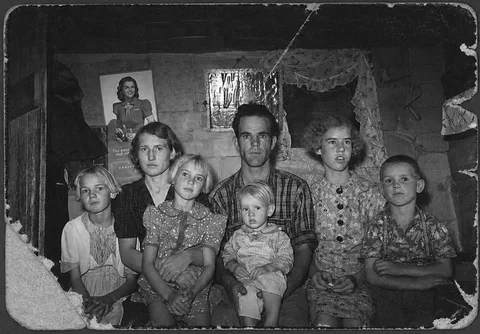
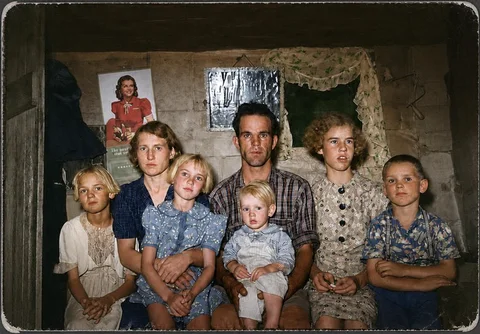
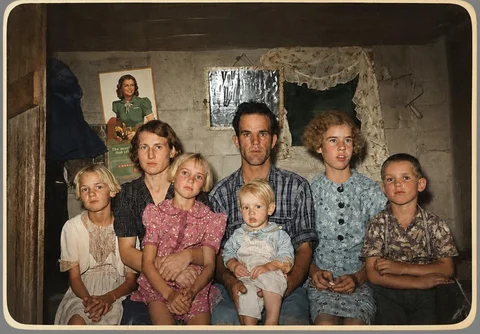
Compare the face before judging the repair. Full allows missing areas to be rebuilt; neither mode guarantees an unchanged identity or historically correct color.
3. Add context only when you know it
The optional facts field is a place for details you are confident about: a dark green dress, a coastal town, a date on the back. The model can use context, but it cannot turn a guess into history.
- Choose Upload a photo, select a mode, review the photo-use notice, then choose Restore photo. The sample is optional. Your generated preview has a watermark and is free to inspect.
- Keep the page open while it works. If the connection breaks, use Recent restorations in the same browser to reopen the task before starting another. Private originals and results expire after 30 days.
4. Compare before you keep
Use the before-and-after slider to inspect faces, hands, clothing, and text. Unlock the result for $1.99 when it feels right, adjust the settings when it does not, or start with another photo.
- Check eyes, mouth, hands, writing and missing edges against the original. If a detail looks invented, keep the original and try a gentler setting; a new result has its own free preview and separate unlock.
- After payment, download JPG and PNG without a watermark. Restoration uses a working copy with a 1024-pixel longest side. Downloads keep the resolution generated by AI, with added padding removed. Actual dimensions appear with the result.
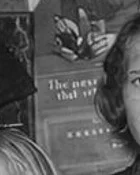
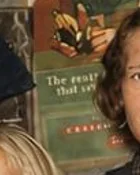
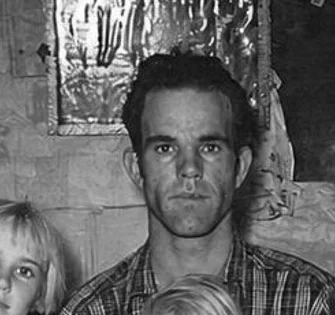
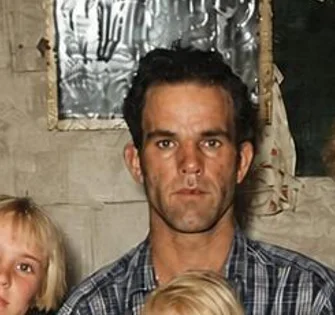
Check a face. Then check the writing.
These are matching crops from the input and Full result. Soft or changed letters are not recovered facts; keep the original as your reference.
Face detail
Text detail